How to create a publicly accessible static website and host it on Amazon S3

Hi, I'm Shashank Dhungel, a computer engineer with a passion for cloud computing. In my free time, I enjoy exploring new cloud technologies and staying up-to-date with the latest developments in the field.
In this blog, we will create an S3 bucket and configure it for static website hosting. Amazon Simple Storage Service (Amazon S3) is a managed cloud storage solution that enables you to store data as objects in a bucket. Objects can be almost any data file such as documents, images or videos.
Let us now deploy a static website in S3 :
Prerequisites :
AWS Management Console
An internet connection
An Internet browser such as Chrome or Firefox
Step 1: Creating a bucket in Amazon S3
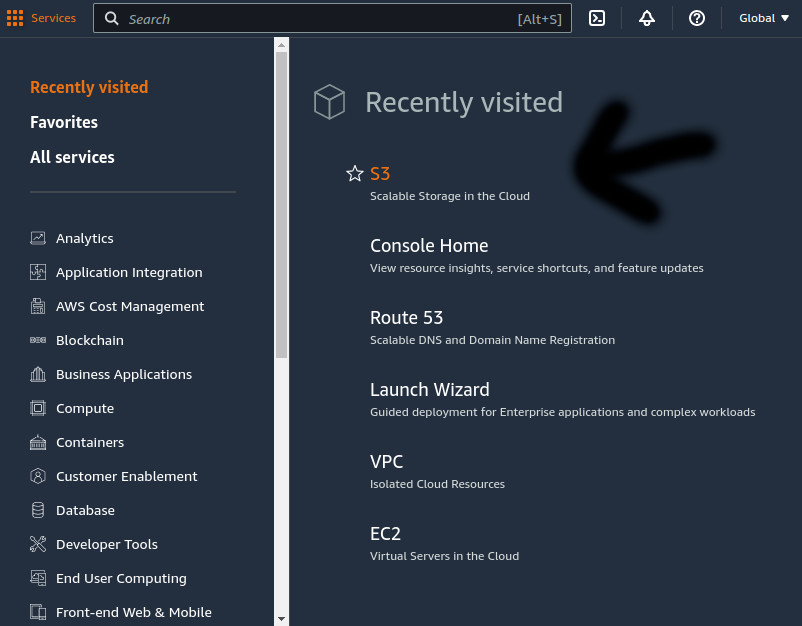
In the AWS Management Console, on the services menu, choose S3.
Create Bucket :
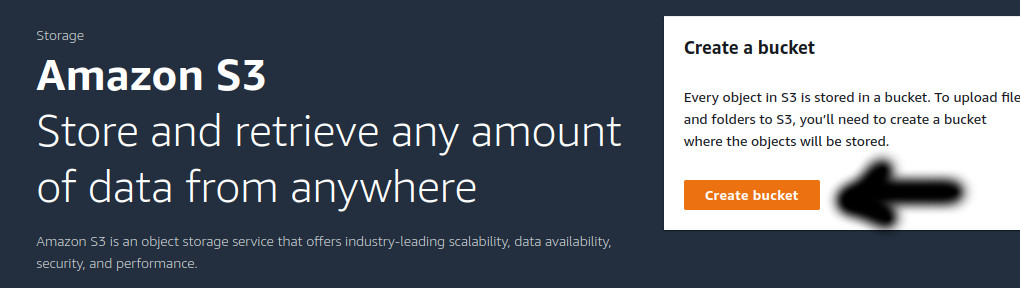
Choose create bucket. The bucket name should be globally unique. After you create a bucket, no other AWS accounts in any AWS Regions can use the name of that bucket unless you delete the bucket.
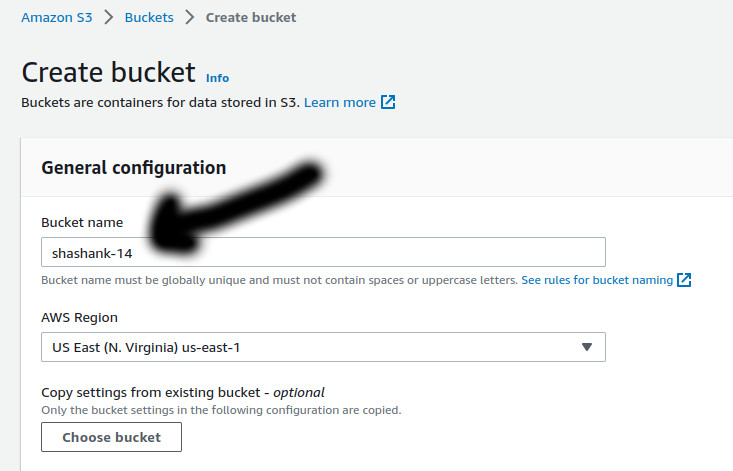
Give name to your bucket as shown above in the picture.
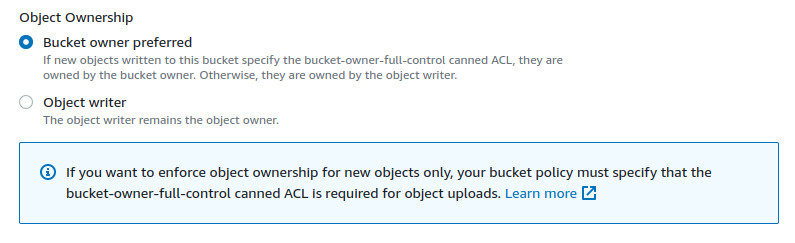
For Object Ownership, choose ACLs enabled.
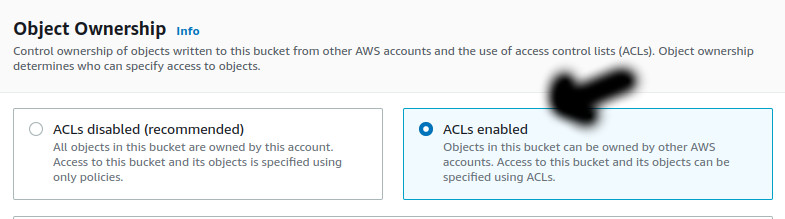
Choose Bucket Owner Preferred.
For Block Public Access settings for this bucket, clear the check box for Block all public access, and then select the box that states I acknowledge that the current settings might result in this bucket and the objects within becoming public.

For bucket versioning, choose Enable.
Choose create bucket.
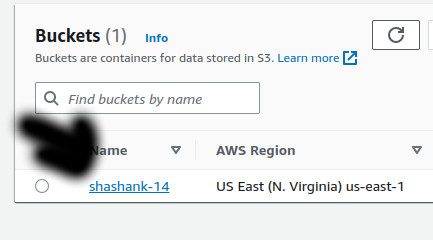
In the buckets section, choose the name of your new bucket for now it is shashank-14
Step 2: Configuring a static website on Amazon S3
We will now configure the bucket for static website hosting.
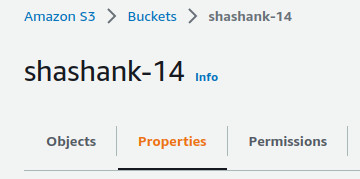
Choose the properties tab.
Scroll to the Static website hosting panel.

choose Edit option.
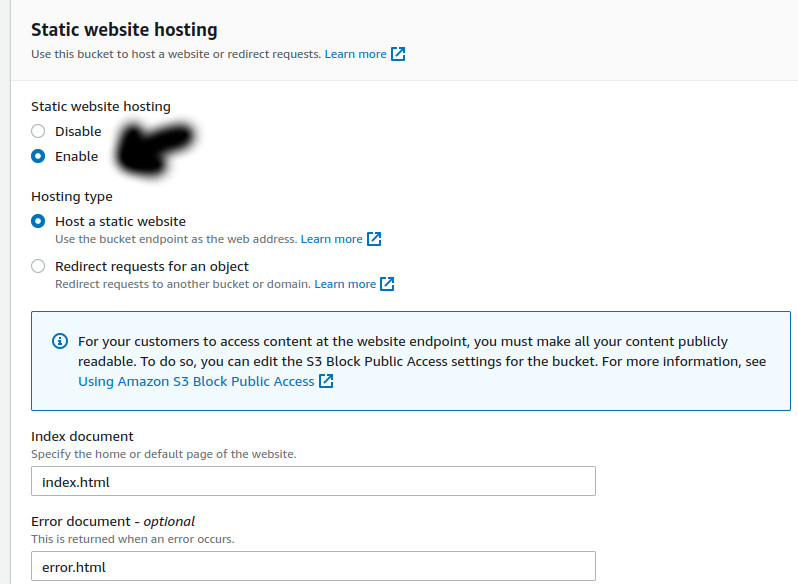
Configure the following settings:
Static web hosting: Choose Enable.
Hosting type: Choose Host a static website.
Index document: Enter
index.htmlError document: Enter
error.html
Note: You must enter index.html and error.html even though they are already displayed.
Choose Save Changes.
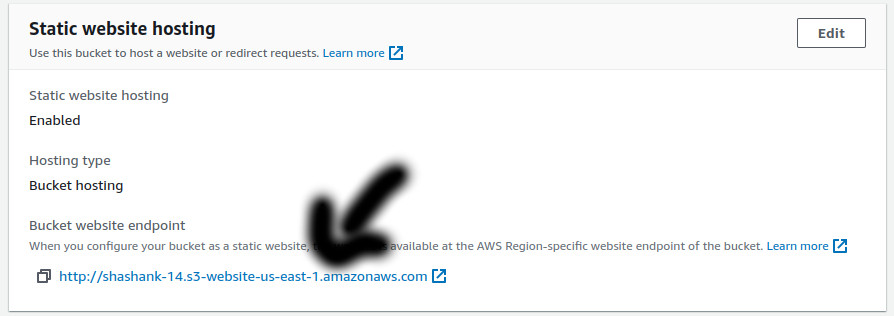
In the Static website hosting panel under Bucket website endpoint, choose the link.

You receive a 403 Forbidden message because you have not yet configured the bucket permissions. Keep this tab open in your web browser so that you can return to it later.

Step 3: Uploading content to your bucket.
Return to the Amazon S3 console, and choose the Objects tab.
Choose Upload

Choose Add files
Add the files to showcase on the website.
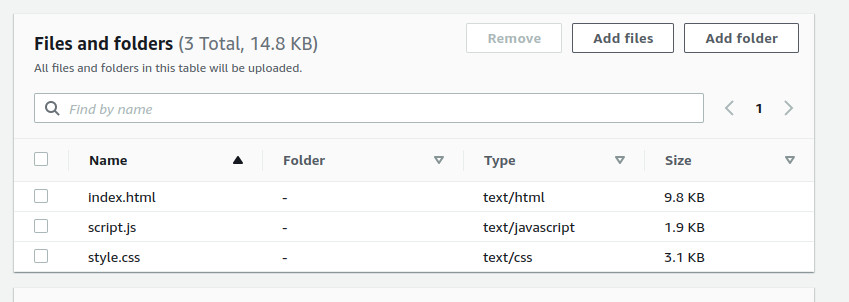
Choose Upload option at the end.
Your files are uploaded to the bucket.
Choose Close.
Step 4: Turning on public access to the objects.
You now configure the individual objects to be publicly accessible.
Choose all the files you uploaded.
In the Actions menu, choose Make public using ACL.
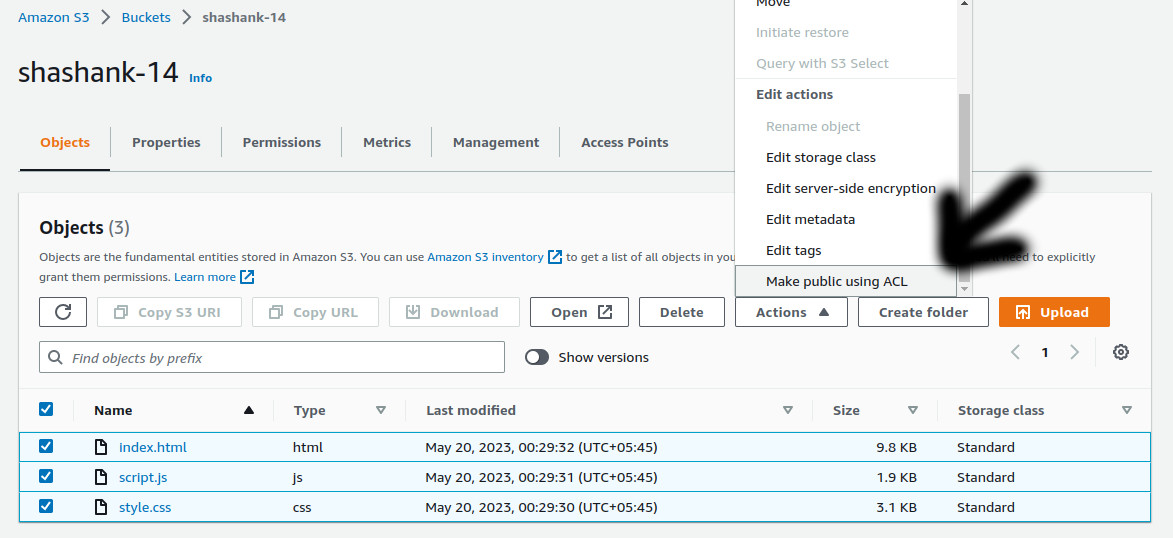
Choose Make Public.

Your static website is now publicly accessible.
Choose Close.
Again, In the Static website hosting panel under Bucket website endpoint, choose the link.
You should now see the static website that is being hosted by Amazon S3.
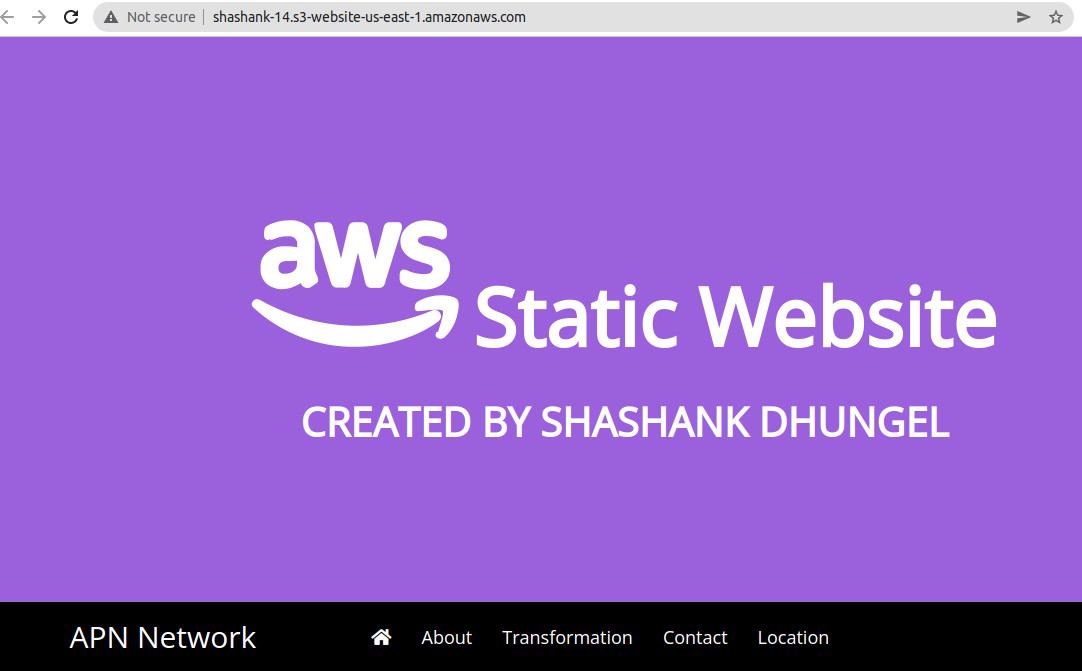
Congratulations !! You have successfully deployed your static website in Amazon S3.
Thank you for your time.